

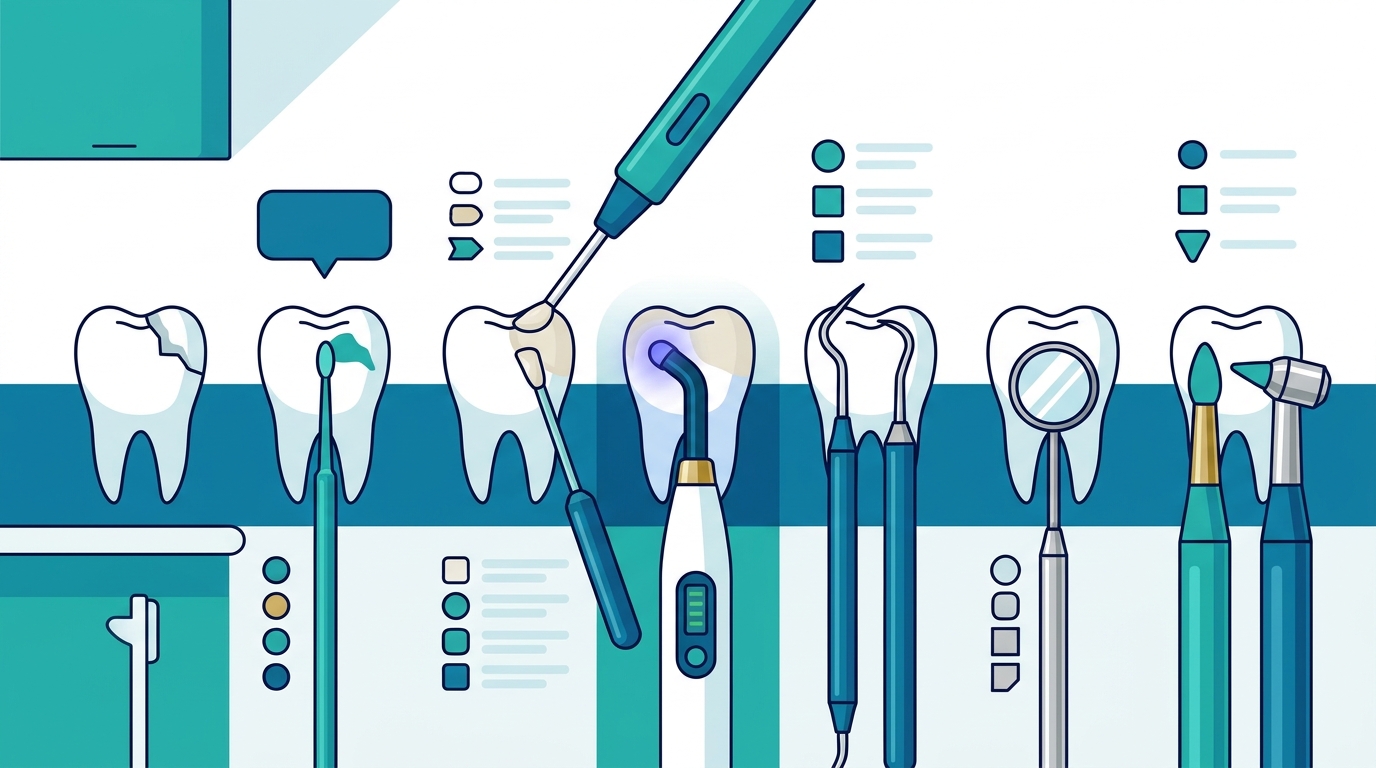
Composite bonding is a cosmetic dental procedure that uses tooth-colored resin to repair chipped, cracked, or discolored teeth. It is a minimally invasive solution that can often be completed in a single visit, restoring the natural appearance of your smile. At Perfect Dental, our team guides you through each stage of the process to ensure a comfortable and effective outcome.
1. Initial Consultation and Assessment
Your dentist evaluates the extent of the damage and discusses your aesthetic goals. The first step involves a thorough examination of the chipped tooth. Your provider will assess the size and location of the chip to determine if bonding is the appropriate treatment. This conversation also covers your expectations for the final result, ensuring the plan aligns with your vision.
2. Shade Selection and Material Matching
Choosing the right resin shade is critical for a seamless, natural look. Your dentist will select a composite resin shade that matches your surrounding teeth. This step is performed under specific lighting conditions to ensure the color blends perfectly. Accurate shade matching prevents the restoration from standing out, which is essential for front teeth.
3. Tooth Preparation and Etching
The tooth surface is prepared to create a strong bond for the resin material. Unlike crowns, bonding usually requires little to no removal of healthy tooth structure. The dentist applies a special etching gel to the tooth surface to create a rough texture. This microscopic roughness allows the bonding agent to adhere securely, ensuring the restoration stays in place.
4. Application of Bonding Agent
A primer is applied to facilitate the chemical bond between the tooth and resin. After etching, the surface is rinsed and dried. A liquid bonding agent is then applied to the tooth. This agent penetrates the etched surface and hardens, creating a strong foundation for the composite resin. This step is crucial for the long-term durability of the repair.
5. Placement and Sculpting of Composite Resin
The resin is applied in layers and sculpted to mimic the natural tooth shape. Your dentist applies the tooth-colored composite resin to the chipped area. The material is then carefully sculpted to match the contours of your natural tooth. This artistic step ensures the repair looks realistic and functions properly with your bite.
6. Curing with Specialized Light
A curing light hardens the resin, making it durable and functional. Once the resin is shaped, a special light is used to harden the material. This process, known as curing, transforms the soft resin into a hard, durable surface. The dentist may apply multiple layers of resin, curing each one individually, to build up the necessary thickness and strength.
7. Polishing and Final Adjustments
The restoration is polished to a smooth finish and checked for proper bite alignment. After curing, the dentist polishes the bonded area to match the shine of your natural teeth. They will also check your bite to ensure the new surface does not interfere with chewing. Any minor adjustments are made to ensure comfort and a natural feel.
Choosing the Right Approach
When deciding on composite bonding, consider the size of the chip and your long-term maintenance habits. For small to moderate chips, bonding offers a quick and cost-effective solution. If you are concerned about the longevity of the repair, discuss your habits, such as teeth grinding, with your provider. At Perfect Dental, we help you understand the pros and cons of bonding versus other options like porcelain veneers to find the best fit for your needs.
Frequently Asked Questions
How long does composite bonding last?
With proper care, composite bonding can last for several years. The lifespan depends on factors like your oral hygiene, diet, and whether you grind your teeth. Regular checkups help monitor the condition of the restoration.
Is composite bonding painful?
Most patients experience little to no discomfort during the procedure. Because bonding is minimally invasive, anesthesia is often not required unless the chip is deep or close to the nerve. Your dentist will ensure your comfort throughout the visit.
Can I eat normally after getting bonding?
You can usually resume normal eating immediately after the procedure. However, it is advisable to avoid extremely hard or sticky foods for the first 24 hours to allow the bond to fully stabilize. Follow your dentist's specific post-care instructions.
Does insurance cover composite bonding?
Coverage varies by plan. Some insurance providers may cover bonding if it is deemed medically necessary to restore function, while others may classify it as cosmetic. Perfect Dental accepts a wide range of insurance plans and can help you understand your specific benefits.
How should I care for my bonded tooth?
Maintain good oral hygiene by brushing and flossing daily. Avoid using your teeth to open packages or bite on hard objects. If you grind your teeth, a custom night guard may be recommended to protect the bonding.
Next Steps for Your Smile
Restoring a chipped front tooth is a straightforward process when handled by an experienced dental team. By understanding each step, you can feel confident in your treatment plan. To discuss your options and schedule an evaluation, contact Perfect Dental today. Our locations in Taunton, Methuen, Manchester NH, Hyde Park, and Attleboro are ready to help you achieve a confident smile.